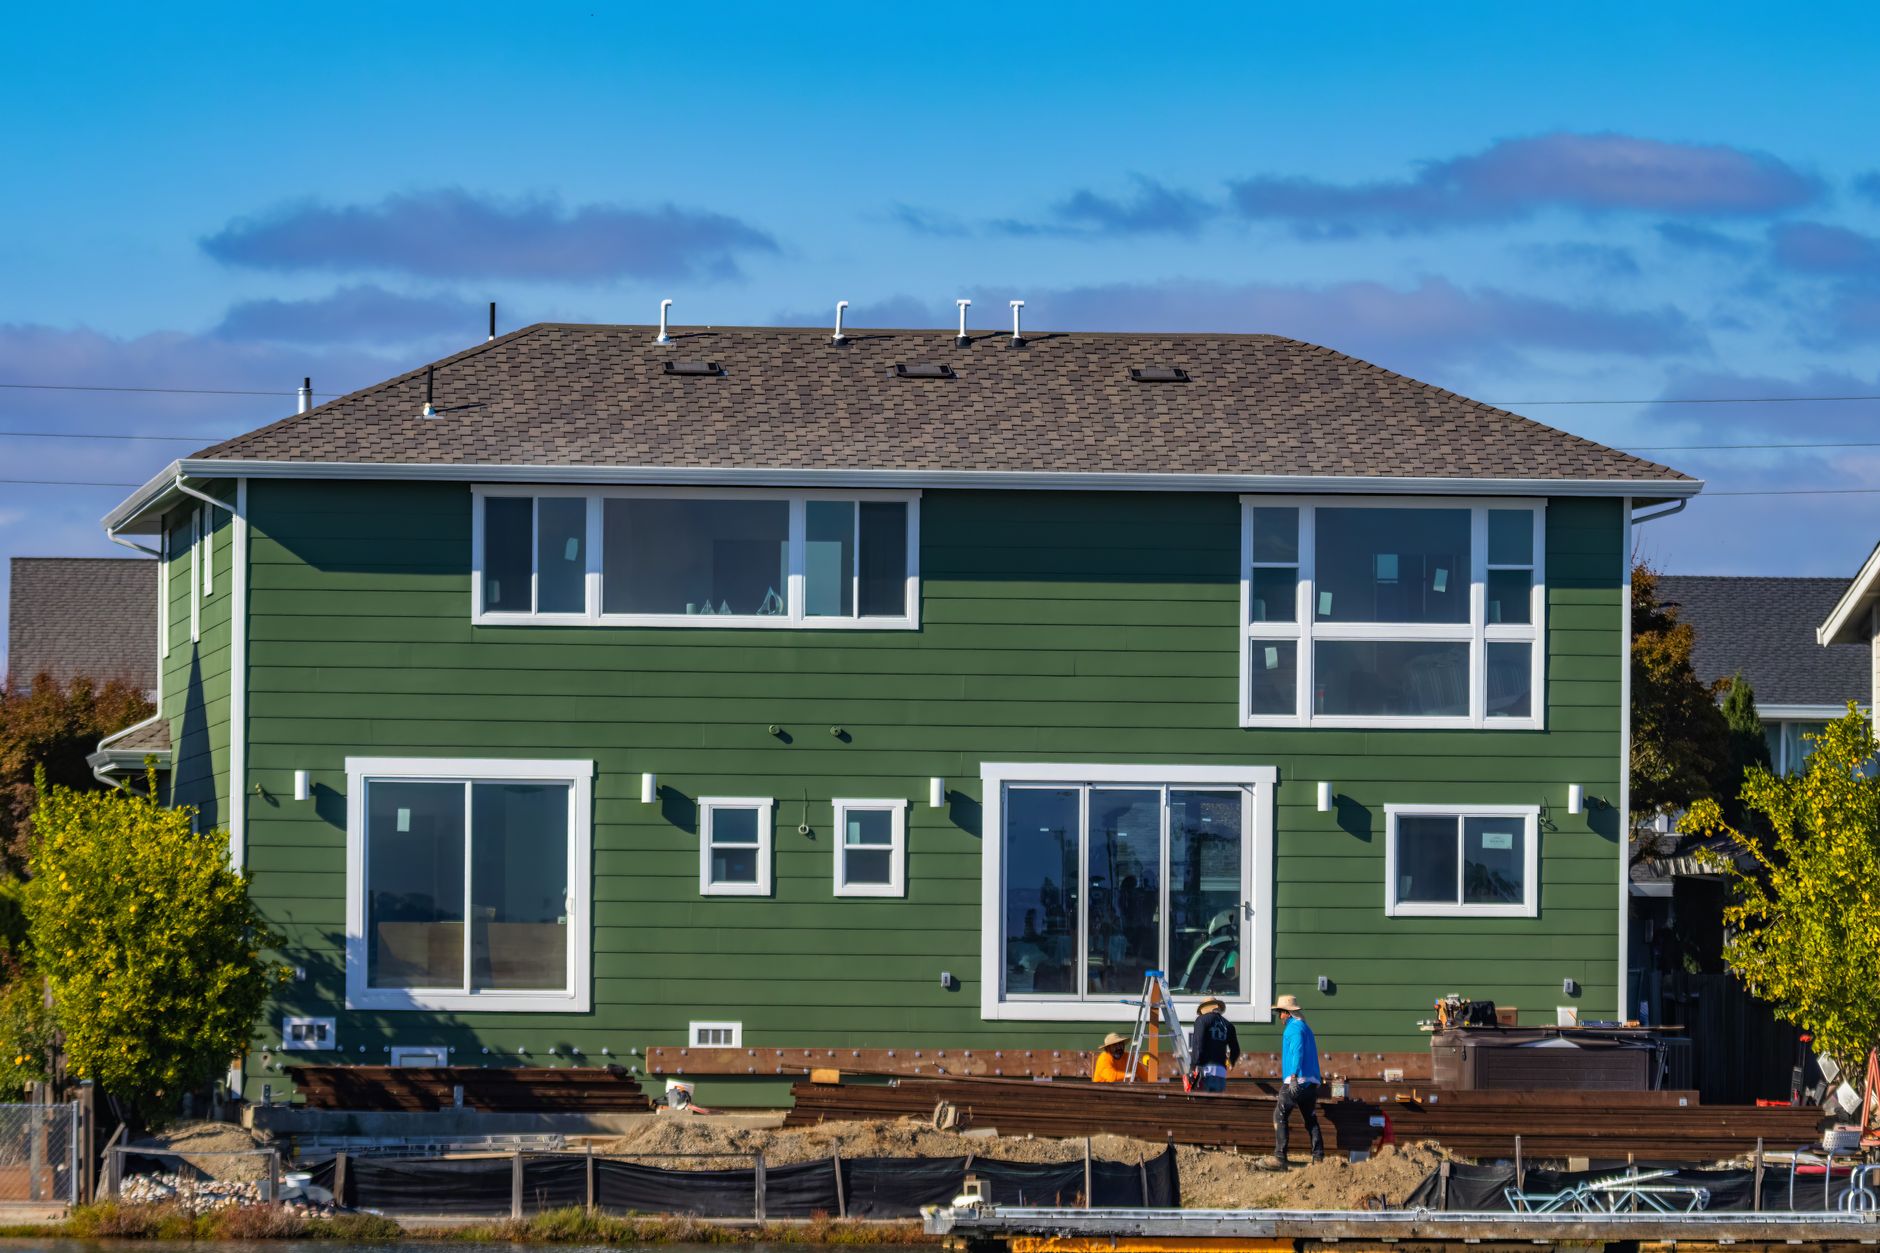
Preparing for Your Siding Installation
Assessing Your Home’s Exterior Condition
Before beginning any siding installation, it’s crucial to thoroughly inspect the exterior of your home. Look for any signs of damage such as rotting wood, mold, or uneven surfaces that could affect the siding’s performance. Addressing these issues upfront ensures a solid foundation for your new siding and helps prevent future problems.
Choosing the Right Siding Material
Selecting the appropriate siding material can significantly impact both the appearance and longevity of your home’s exterior. Consider factors like climate, maintenance requirements, and budget. Popular options include vinyl for affordability and low upkeep, fiber cement for durability and fire resistance, and wood for a classic look but with higher maintenance.
Gathering Tools and Materials
Having all necessary tools and materials ready before starting will streamline the installation process. Common tools include a hammer or nail gun, level, measuring tape, utility knife, and a ladder. Materials vary based on siding type but often include siding panels, nails or screws, weather barriers, flashing, and sealants.
Step-by-Step Siding Installation Tips
Measuring and Planning Layout
Accurate measurements are the foundation of a smooth installation. Measure each wall carefully, noting any windows, doors, or vents. Sketch a layout plan to visualize panel placement and minimize waste. Planning helps maintain consistent lines and ensures panels fit properly around architectural features.
Installing Weather Barrier and Flashing
A weather-resistant barrier is essential to protect your home from moisture intrusion. Install it over the sheathing before attaching siding. Proper flashing around windows, doors, and corners directs water away, preventing leaks and damage. Overlapping and sealing these components correctly is key to optimal protection.
Properly Securing Siding Panels
Attach siding panels according to manufacturer instructions, leaving room for expansion and contraction. Use the recommended nails or screws and avoid overdriving fasteners, which can warp or damage panels. Starting from the bottom and working upward ensures a neat, secure fit with proper alignment.
Ensuring Durability and Weather Resistance
Sealing Joints and Edges
After installing siding, sealing all joints and edges with a high-quality, weatherproof caulk prevents moisture infiltration. Pay close attention to corners, around windows and doors, and any panel seams. Well-sealed siding helps maintain structural integrity and energy efficiency.
Managing Water Drainage
Effective water management is critical for siding longevity. Ensure gutters and downspouts direct water away from the foundation. Consider adding drip edges or rain screens to promote airflow and prevent trapped moisture behind siding panels. Proper drainage reduces the risk of mold and rot.
Regular Maintenance Practices
Routine upkeep extends the life of your siding. Inspect your siding annually for cracks, gaps, or damage. Clean panels to remove dirt and mildew, and repaint or reseal surfaces as needed depending on the material. Promptly addressing minor issues prevents costly repairs down the line.
Common Mistakes to Avoid During Installation
Overlooking Surface Preparation
Failing to properly prepare the surface leads to uneven siding and compromised adhesion. Always remove old siding if necessary, repair damaged sheathing, and ensure the surface is clean and dry before installation. Skipping this step can cause premature siding failure.
Incorrect Fastening Techniques
Using the wrong fasteners or improper nailing can warp panels or leave siding loose. Follow manufacturer guidelines closely on nail type, placement, and spacing. Avoid hammering nails too tightly; siding needs room to expand with temperature changes without buckling.